
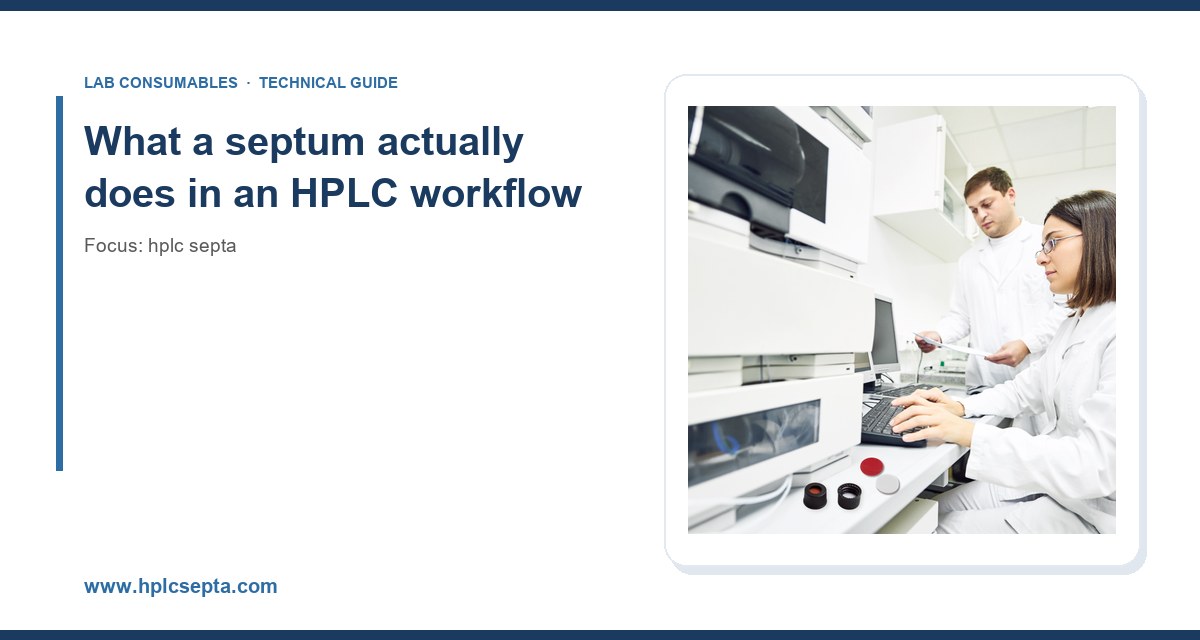
I have watched a lab burn four thousand dollars in re-injections because someone bought a case of silicone-lined septa for a headspace method running at 140 °C. The septa looked fine. They were the wrong material, and nobody checked the temperature rating against the oven program. That single purchasing decision cost two weeks of method development and a lot of goodwill with the QC manager. Choosing septa is not glamorous work, but it is one of the few consumable decisions that touches every injection you run.
This guide is what I wish I had handed that lab. It covers material chemistry, dimensions, the GPI and ISO thread standards that actually govern fit, puncture counts, temperature ceilings, and the failure modes I have dealt with across hundreds of HPLC and GC installations. If you are writing a purchase requisition or troubleshooting ghost peaks, the numbers below should save you time.
A septum is a small disc of elastomer, typically 8 to 11 mm in diameter and 1.0 to 1.5 mm thick, that seals the top of a vial or the injection port. In HPLC autosamplers, it seals a crimp or screw cap against the vial neck so the sample does not evaporate and the needle can enter repeatedly without the seal failing. In GC inlet ports, it does the harder job: it holds carrier gas pressure, sometimes above 100 psi, while a needle punches through it hundreds of times at temperatures from 40 °C to 350 °C.
The two applications are not the same, and the buying criteria differ. HPLC septa live at ambient or slightly elevated temperature and see maybe 1 to 5 punctures per vial in a typical autosampler run. GC inlet septa see 50 to 500 punctures over their service life and must resist thermal compression set. Mixing up the two is the most common purchasing error I see.
The seal is a dynamic component, not a static gasket
Every needle insertion creates a small channel. A good septum reseals because the elastomer has enough elastic recovery to close that channel before the next injection. Silicone recovers well at room temperature but collapses at high temperature. Natural rubber and butyl have excellent resealing but poor solvent resistance. PTFE-faced silicone gives you chemical inertness on the sample side and elastic recovery in the core. Understanding that trade-off is the whole game.
Material selection: the decision that drives everything else
There are five septum materials you will actually encounter in a catalog. Each has a temperature ceiling, a solvent compatibility profile, and a cost per unit. I have ranked them by how often I specify them for HPLC work.
Silicone (with or without PTFE facing)
Bare silicone is the workhorse for ambient HPLC. It is soft (Shore A hardness around 40 to 50), reseals reliably, and handles aqueous and polar mobile phases without swelling. Its weakness is nonpolar solvents: hexane, toluene, and dichloromethane will extract low-molecular-weight siloxanes out of the elastomer and into your sample. Those siloxanes show up as ghost peaks in the 250 to 400 nm range on a DAD, and they will ruin a trace analysis.
PTFE-faced silicone solves this. The PTFE film, usually 0.05 to 0.13 mm thick, faces the sample and provides an inert barrier. The silicone core provides the seal. For any reversed-phase method with a nonpolar extraction solvent, specify PTFE/silicone. For GC inlet septa, the same construction is standard, and the PTFE facing also reduces needle friction.
Temperature ceiling for silicone: 200 °C continuous for short periods, but I would not run an HPLC method above 60 °C with a silicone septum if the sample is volatile. For GC inlets, silicone/PTFE septa are rated to about 250 °C and degrade quickly above that.
Natural rubber and butyl
Natural rubber reseals beautifully and is cheap. It is also a disaster for HPLC because it contains curing agents, antioxidants, and plasticizers that leach into aqueous samples. I have seen total ion chromatograms from natural rubber septa with a dozen extraneous peaks. Butyl is better for GC inlet use because it has low gas permeability, but it is not a first choice for HPLC. Reserve these materials for non-critical, high-throughput screening where cost dominates and the analytical method has wide tolerances.
Bonded PTFE/silicone laminates
This is the premium option and the one I default to for regulated work. The PTFE layer is chemically bonded to the silicone rather than just laid on top, so it does not delaminate after repeated needle punctures. A bonded laminate will typically survive 100 to 200 punctures in an HPLC autosampler before the seal fails, versus 30 to 50 for a loose-faced septa. The cost premium is roughly 30 to 50 percent, and it pays for itself in reduced re-injection and fewer needle coring events.
Comparison table: septum materials by application
- PTFE/silicone (bonded): HPLC ambient to 60 °C, GC inlet to 250 °C. Best chemical inertness. 100 to 200 punctures. Cost index 1.5. My default for regulated HPLC.
- Silicone (bare): HPLC ambient only, aqueous/polar mobile phases. 50 to 100 punctures. Cost index 1.0. Avoid with nonpolar solvents.
- PTFE/silicone (loose-faced): HPLC ambient, low-pressure GC. 30 to 50 punctures. Cost index 1.2. Watch for delamination.
- Natural rubber: non-critical screening only. 50 to 100 punctures. Cost index 0.6. Leaches into aqueous samples.
- Butyl: GC inlet, low-permeability gas work. 100 to 200 punctures. Cost index 0.9. Not for HPLC.
For a deeper breakdown of material compatibility, the technical resources at Restek publish extraction data by solvent class that I have found reliable for method development.
Dimensions and thread standards: where most fit problems come from
A septum that is 0.3 mm too thin will not seal. A septum that is 0.5 mm too thick will not seat in the cap and will cause the autosampler needle to bend. The dimensions are not arbitrary, and they are tied to the vial closure system.
GPI and ISO thread references
Most HPLC vials use a GPI 13-425 thread, which means a 13 mm diameter, 425 thread finish. The matching septum is typically 11 mm in diameter for a 13 mm cap, or 8 mm for a 9 mm cap. The ISO 4796 standard covers laboratory glassware including vials and their closures, and it specifies neck dimensions that a compliant septum and cap must match. When you buy from a reputable supplier, the septum, cap, and vial are designed as a system. When you mix suppliers, you get leaks.
The specific numbers that matter:
- 11 mm septum for 13-425 screw and crimp caps. Thickness 1.0 to 1.5 mm.
- 8 mm septum for 9 mm screw caps (common on autosamplers with short needles). Thickness 1.0 to 1.2 mm.
- 10 mm septum for 10-425 caps. Thickness 1.0 mm.
- Crimp cap seal compression: 0.2 to 0.4 mm of septum deformation is optimal. Too little and you leak; too much and the septum cores on the needle.
If you are sourcing caps and septa together, check the closure specifications at Vial Closures against your autosampler manufacturer’s vial drawing. The tolerance stack is where leaks hide.
Thickness and needle geometry
Thinner septa (1.0 mm) reduce needle penetration force and coring, which is why autosampler manufacturers recommend them for short-needle systems. Thicker septa (1.5 mm) give better resealing and are preferred for crimp caps where the seal is under more compression. If your autosampler has a fixed needle depth, a septum that is 0.2 mm thicker than specified can change the injection volume by a few tenths of a microliter. That matters at the 1 µL injection level.
Puncture counts and service life: the number you should track
Every septum has a finite puncture life. After it is exceeded, the seal fails and you get evaporation, air ingress, or sample loss. I have seen labs track this by counting vials, which does not work because the same vial can be injected multiple times. Track punctures per septum, not per vial.
Practical service life from my own installations:
- HPLC autosampler, 11 mm bonded PTFE/silicone: 100 to 200 punctures. Replace at 150.
- HPLC autosampler, bare silicone: 50 to 100 punctures. Replace at 75.
- GC inlet, 11 mm PTFE/silicone: 50 to 200 punctures depending on inlet temperature. At 250 °C, replace at 100. At 300 °C, replace at 50.
- GC inlet, high-temperature (up to 350 °C): use a dedicated high-temp septum, replace every 30 to 50 punctures.
A simple rule: if your method runs more than 100 injections per day on a single inlet, put septum replacement on a time-based schedule (every shift or every 8 hours) rather than a count-based one. I have never regretted a scheduled replacement.
Why puncture count matters more than price
A bare silicone septum costs maybe 0.10 to 0.20 USD. A bonded PTFE/silicone septum costs 0.15 to 0.30 USD. The difference per injection is fractions of a cent. But a failed septum that causes a re-injection, a recalibration, or a rejected batch costs 50 to 500 USD in labor and instrument time. Buy the better septum. The math is not close.
Temperature ratings: match the septum to the method, not the catalog
This is where the failure I described at the top of the article happened. The catalog listed a silicone septum as rated to 200 °C, which sounds fine for a 140 °C headspace method. What the catalog did not say is that the rating is for short excursions, not continuous service, and that the septum’s compression set at 140 °C causes it to harden and lose resealing ability within a few hours. The method ran for six hours. The septa failed at hour four.
The real temperature ceilings I use:
- Silicone: 200 °C short-term, 60 °C continuous for HPLC, 200 °C continuous for GC with frequent replacement.
- PTFE/silicone: 250 °C continuous for GC inlet, 60 °C for HPLC.
- High-temperature silicone: 300 to 350 °C, but only with a bonded PTFE facing and a dedicated high-temp cap.
- Natural rubber: 70 °C. Not for heated work.
For headspace and GC methods, check the inlet temperature against the septum rating with a 20 percent margin. If your inlet runs at 250 °C, buy a septum rated to 300 °C. The margin absorbs temperature overshoot and extends service life.
Chemical compatibility: the solvent test that saves a method
Before you commit to a septum for a new method, run a simple extraction test. Soak a septum in your sample solvent for 24 hours at 40 °C, then inject the solvent blank on your HPLC and look for peaks above the baseline. I do this for every new method and it has caught incompatible septa three times in the last two years.
The compatibility rules I follow:
- Aqueous and polar mobile phases (methanol, acetonitrile, water): silicone or PTFE/silicone. No issue.
- Nonpolar solvents (hexane, toluene, DCM): PTFE/silicone only. Bare silicone will extract.
- Acidic samples (pH below 3): PTFE-facing septum. Silicone can hydrolyze over time.
- Basic samples (pH above 9): PTFE-facing septum. Same reason.
- Trace analysis (ppb level): bonded PTFE/silicone, and pre-condition the septa by soaking in mobile phase for 30 minutes before use.
The U.S. EPA SW-846 test methods at EPA SW-846 specify septum and vial handling for volatile organic analysis, and they are worth reading even if you are not running environmental samples. The method logic applies broadly.
Vial and closure compatibility: buy the system, not the part
A septum does not seal on its own. It seals when compressed between the vial neck and the cap. If the cap is not the right height, the septum will not compress correctly. If the vial neck is out of tolerance, the cap will not seat. This is why I recommend buying septum, cap, and vial as a matched system from one supplier, or at minimum verifying the dimensional stack.
The numbers to check:
- Cap height: 6.0 to 6.5 mm for 13-425 screw caps. A cap that is 0.5 mm short will not compress the septum enough.
- Crimp cap crimp diameter: 11.0 to 11.2 mm for a 13 mm crimp. Outside that range, the seal leaks or the glass cracks.
- Torque for screw caps: 0.5 to 1.0 inch-pounds (roughly 0.06 to 0.11 N·m). Hand-tight is usually in range; a torque wrench is better for reproducibility. Over-torque cores the septum.
For autosampler vials and their closures, the dimensional drawings at HPLC Vial are a useful cross-check against your instrument manual. And if you are validating a method, the sample handling guidance from Thermo Fisher chromatography covers septum and vial selection for common autosampler platforms.
Operational precautions: what I tell every new analyst
Even the right septum fails if it is handled wrong. These are the precautions that have prevented the most problems in my labs.
Handling and storage
- Store septa in the original sealed bag. Silicone absorbs volatiles from the air, and a septum left open in a lab with solvent vapors will show ghost peaks.
- Do not touch the sample-facing surface with bare fingers. Skin oils are a real contamination source at ppb levels. Use powder-free gloves and forceps.
- Pre-condition trace-analysis septa by soaking in mobile phase for 30 minutes and drying under nitrogen.
- Check the expiry date. Silicone has a shelf life of about 3 years; natural rubber degrades faster.
Installation
- Seat the septum flat in the cap. A tilted septum will leak and will core on the needle.
- For crimp caps, use a crimper with a depth stop set to 11.0 to 11.2 mm. Recalibrate the crimper monthly; a worn crimper is a common source of leaks.
- For screw caps, torque to 0.5 to 1.0 inch-pounds. Do not use pliers.
- Inspect the septum after capping. A visible dimple or tear means it is not seated.
In-use monitoring
- Log punctures per septum. A simple spreadsheet or a counter on the autosampler works.
- Watch for a rise in baseline noise or new peaks in the blank. Both indicate septum failure.
- For GC inlets, check the septum retainer nut torque weekly. It should be snug, not overtightened.
Troubleshooting checklist: symptoms, causes, fixes
When a method goes wrong, the septum is often the last thing anyone checks. Here is the checklist I use, in order of how often each item is the actual cause.
- Ghost peaks in the blank, 250 to 400 nm: silicone extraction from a bare septum with a nonpolar solvent. Fix: switch to bonded PTFE/silicone.
- Sample volume loss over a run: septum not resealing, or wrong thickness. Fix: check puncture count, replace septum, verify thickness against the cap spec.
- Air bubbles in the vial: cap not torqued enough or septum too thin. Fix: torque to 0.5 to 1.0 inch-pounds, check septum thickness.
- Bent autosampler needle: septum too thick or not seated. Fix: verify 1.0 mm thickness for short-needle systems, reseat septum.
- GC inlet pressure fluctuation: septum leaking at the retainer. Fix: replace septum, check retainer torque, check for a cored septum.
- Carryover between injections: septum absorbing analyte. Fix: switch to PTFE-facing septum, add a solvent wash step.
- Cracked vial neck: over-crimped or over-torqued. Fix: recalibrate crimper, reduce torque.
- Baseline drift on a DAD: septum outgassing. Fix: replace with a low-bleed septum and pre-condition.
If you cannot resolve a ghost-peak problem with a septum change, the next step is a full blank run with no septum at all (use a septa-less cap if your autosampler allows it). That isolates whether the contamination is from the septum or from the mobile phase. The analytical testing resources at Analytical Testing cover this kind of isolation work in more detail.
Buying checklist: what to put on the purchase requisition
Here is the specification list I use when writing a requisition. It removes ambiguity and prevents the wrong part from arriving.
- Material: bonded PTFE/silicone for regulated HPLC; bare silicone only for aqueous screening.
- Diameter: 11 mm for 13-425 caps, 8 mm for 9 mm caps. Match to the vial closure.
- Thickness: 1.0 mm for short-needle autosamplers, 1.5 mm for crimp caps.
- Temperature rating: at least 20 percent above the maximum method temperature.
- Puncture life: specify the replacement interval in the SOP, not just the catalog number.
- Pre-conditioning: specify whether septa are pre-cleaned or require in-house conditioning.
- Packaging: sealed, individually bagged lots with a lot number for traceability.
- Standards: confirm GPI 13-425 and ISO 4796 compliance on the certificate of analysis.
- Supplier: one supplier for septum, cap, and vial to keep the dimensional stack consistent.
For a full catalog of HPLC septa organized by material and dimension, the selection at HPLC Septa is a reasonable starting point, and the Agilent consumables reference at Agilent chromatography consumables is useful for cross-referencing part numbers against instrument requirements.
My recommendation
For most HPLC workflows, specify 11 mm bonded PTFE/silicone septa, 1.0 mm thick, rated to 60 °C continuous, matched to a 13-425 screw cap from the same supplier. Replace at 150 punctures or every shift, whichever comes first. For GC inlet work, use the same bonded construction but confirm a 250 °C continuous rating and replace at 100 punctures. For trace analysis, pre-condition the septa and run a blank before the first sample. Do not buy bare silicone for nonpolar solvents, and do not buy a septum without checking the cap and vial dimensions against it. The septum is a small part, but it is in the sample path on every injection, and the cost of getting it wrong is measured in re-runs, not in cents per unit.
References & further reading
Related resources from our lab consumables network:
- Hplc Septa at hplcsepta.com
- Vial Closures at vialsclosures.com
- Analytical Testing at testinganalytical.com
- Hplc Vial at vialforhplc.com
External references and standards: