
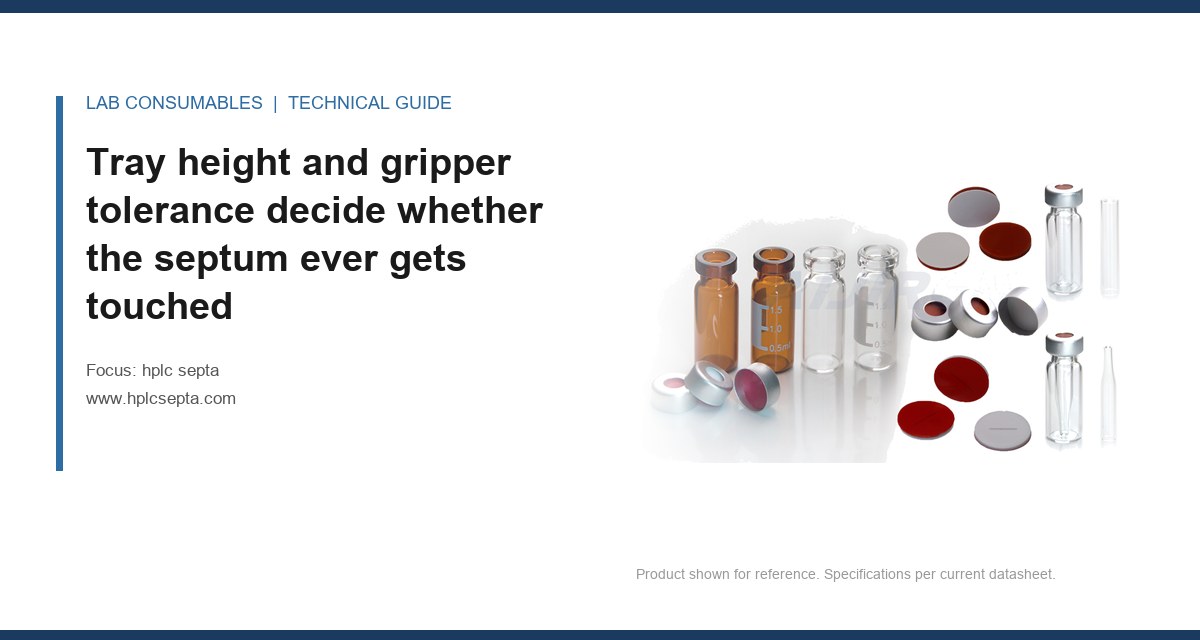
Last March a customer sent back a case of 9 mm septa because their autosampler had thrown seven “no vial detected” errors in a 96-well run, and the septa were the only thing that had changed. They were not the problem. The tray on that instrument was sitting 0.9 mm low at the back corner after a service tech had reinstalled it without re-zeroing, and the gripper was clipping the cap edge on every vial past column 6. The septa were fine. The geometry was not. That is the pattern I see over and over: an autosampler pickup error and misalignment get blamed on the septum because the septum is the cheapest part in the chain and the easiest to swap. This article is about the fit and alignment failures that masquerade as HPLC septa defects, and how to measure your way out of them.
The autosampler does not “see” a septum. It sees a vial top at a coordinate. The needle or the gripper travels to that coordinate, and the septum is whatever happens to be in the way. If the vial top is not where the firmware thinks it is, the septum takes the hit, or the gripper misses it entirely. Two numbers govern this: the tray’s vertical datum and the gripper’s positional tolerance.
On most 96-position trays the specified vial-seat height tolerance is ±0.2 mm across the full plate. That is not a lot. A single reinstallation where the tray is not seated on its locating pins, or where a warped tray is bolted down at one corner, throws the far edge out by 0.5 to 1.0 mm easily. The gripper on a typical robotic arm has a repeatability of ±0.1 mm and a jaw opening sized for a 11 mm cap with maybe 0.3 mm of clearance. Stack a 0.9 mm tray error on top of that and the jaw grabs air, or grabs the cap at an angle and lifts the whole vial crooked.
What you see as a user is not “tray height error.” You see a pickup failure. The instrument reports it as a vial-not-found or a gripper error, and the operator assumes the septum is sitting proud or the cap is loose. It usually is not.
How to measure tray height without a service call
Put a dial indicator on a magnetic base, zero it on the tray frame, and sweep the vial seats at the four corners and the center. You want all five within 0.2 mm. If the back-left corner is 0.8 mm lower than the front-right, you have found your pickup error before you have touched a single septum. On instruments where the tray is a removable cassette, check that the cassette seats flush: a strip of 0.05 mm shim stock should not slide under any corner. I have caught more than one “septa problem” this way in under ten minutes.
The four alignment faults that read as septum failures, and the error each one throws
Not every misalignment looks the same on the screen. The error code tells you which axis is off, if you know how to read it. Here is the map I use. Codes vary by firmware version, so treat the exact strings as representative of the family, not gospel for your build.
| Fault | Typical symptom | Representative error text | What it is not |
|---|---|---|---|
| Tray datum low at one edge | Pickup failures clustered in one region of the plate | “Vial not found,” “gripper closed on empty position,” “Z-axis travel limit” | Not a septum coring issue; the needle never reached the septa |
| Gripper jaw offset (X/Y) | Caps lifted at an angle, vials returned crooked, occasional dropped vial | “Gripper position error,” “vial transfer failed,” “cap not seated” | Not a cap torque problem; the cap was never gripped square |
| Needle depth offset (Z) | Septum punched off-center, torn septa, occasional bent needle | “Needle obstruction,” “injection error,” “plunger movement blocked” | Not a septum hardness problem; the needle is entering at the rim |
| Cap not seated flush | Septum pushed down into the vial, needle hits the cap skirt | “Septum puncture failed,” “vial pressure error,” “carrier gas leak” | Not a septum thickness problem; the cap is cocked on the neck |
Read that table against your last week of errors. If the failures cluster in one physical region of the tray, it is the tray. If they follow a particular gripper, it is the gripper. If they follow the needle on one injection position, it is needle depth. Septa do not fail in geographic clusters. Geometry does.
Cap seating is where most “septa” failures actually begin
A crimp cap that is not square on the neck pushes the septum off-axis, and an off-axis septum is a puncture waiting to tear. The failure mode is subtle: the cap looks seated, the septum looks flat, and the needle enters at a 3 to 5 degree angle. After 30 or 40 injections the puncture hole elongates into a slot, the seal leaks, and the run fails on a pressure error or a drifting baseline. The operator blames the septum. The real culprit is a crimper that has drifted out of adjustment or a batch of caps with a slightly different skirt height.
Check cap squareness with a straightedge across the cap top and a feeler gauge at the skirt. A properly crimped 11 mm aluminum cap on a 12×32 mm vial should show no more than 0.1 mm of gap at any point around the skirt. More than that and the septum is being loaded unevenly. For crimp settings, a manual crimper should be set so the cap deforms the septum by about 0.2 to 0.3 mm, not more. Over-crimping thins the septum and shortens puncture life; under-crimping leaves it loose and it walks under needle pressure. If you are running screw caps, the equivalent check is torque. Hand-tight plus a quarter turn is roughly 0.5 to 0.7 N·m for a typical 9 mm screw cap, and a torque screwdriver is worth the $80. The vial closures you buy set the ceiling on how well any of this can go.
Case one: the cluster that moved with the tray
A pharma QC lab running a 60-position tray reported intermittent “vial not found” errors, about 4 per 100 injections, always in the last two rows. They had already swapped septa lots twice. I had them log the position of every failure for a week. Every single one was in rows 5 and 6. A dial indicator sweep showed the tray was 0.7 mm low at the back edge, because the tray had been reinstalled after cleaning without the rear locating pin fully engaging. Reseating the tray and re-zeroing the Z datum dropped the error rate to zero over the next 2,000 injections. The septa were never the issue. The HPLC vial geometry and the tray datum were.
Needle depth and the septum: why an off-center puncture tears and a centered one does not
A needle entering the center of a septum makes a clean round hole that reseals. A needle entering 2 mm off-center, near the cap rim, makes a crescent tear because the septum is constrained by the crimp at that edge and cannot stretch symmetrically. That tear does not reseal. It leaks. It cores. It shows up in the chromatogram as a pressure drop or a wandering baseline, and the operator concludes the septum is defective.
The spec that matters here is the needle’s X/Y position relative to the vial center at the point of puncture. On a well-aligned instrument that is within ±0.3 mm. On a drifted one it can be 1.5 mm or more, and you will see the puncture marks walking toward one edge of the septum if you pull a used one and hold it up to the light. Do that. Pull ten used septa from a failing run and look at where the holes are. If they are clustered off-center, stop buying septa and fix the needle alignment. The needle guide, the needle carrier, and the injection port all contribute, and a worn needle guide is the usual suspect after a few hundred thousand injections.
For instruments where you can set puncture depth, keep it shallow. The needle only needs to clear the septum by 1 to 2 mm to reach the vial headspace or the sample. Driving it 5 mm past the septum does nothing except scrape the needle against the septum wall on the way in and out, which accelerates coring and shortens needle life. On a typical autosampler the factory default is fine; a service tech who “fixed” a short-injection problem by increasing depth has probably created a coring problem. The Agilent consumables documentation and the Thermo Fisher sample handling references both publish the nominal puncture geometry for their autosamplers, and it is worth matching your setup to the drawing rather than to a hunch.
What the septum tells you if you actually look at it
Used septa are a diagnostic record. Before you throw them out, pull a sample and read them. The pattern of the puncture, the depth of the coring, the location of the tear, and the condition of the cap all point to a specific alignment fault. I keep a small loupe in the lab for exactly this.
- Centered round hole, clean edge: alignment is good. If you are still getting failures, look elsewhere (mobile phase, column, detector).
- Off-center hole or crescent tear: needle X/Y offset. Check needle guide and carrier.
- Hole punched through at an angle, septum deformed toward one side: cap not seated square. Check crimper or screw torque.
- Septum pushed down into the vial neck: over-crimped or cap skirt too tall for the vial. Check cap-to-vial compatibility.
- Multiple puncture marks in one septum: needle is hitting the same vial twice, usually a tray coordinate error or a firmware bug after a method edit.
- Coring debris on the vial shoulder: needle depth too deep, or needle diameter too large for the septum gauge. A 0.5 mm needle in a septum designed for 0.6 mm is fine; a 0.8 mm needle in the same septum is not.
That last point is worth a number. A standard 9 mm septum is designed around a needle in the 0.5 to 0.7 mm OD range. Push an 0.8 mm needle through it and the puncture diameter exceeds what the elastomer can reseal, regardless of how good the septum is. If you have changed needle gauge recently, that is your alignment problem in disguise.
Case two: the gripper that lifted crooked
A contract lab running a walk-away overnight sequence kept finding vials returned to the tray at an angle, maybe 2 per 96, and occasionally a cap sitting loose in the tray. The septa on those vials were torn. They assumed a bad lot. I had them measure the gripper jaw opening with a pin gauge: it was 0.4 mm wider than spec on one side, because the jaw had been bent during a jam and never replaced. The gripper was grabbing the cap off-center, lifting it at an angle, and the needle was entering the septum while the cap was cocked. Replacing the gripper jaw ($40 part) and re-teaching the gripper position fixed it. Two years of “septa problems” traced to a bent jaw.
A field checklist for separating septum failure from alignment failure
Run this in order. It takes about 45 minutes and it will tell you whether to buy septa or call service.
- Log the failure positions. One week, every error, with the tray coordinate. Clustering means geometry.
- Sweep the tray datum. Dial indicator, five points, all within 0.2 mm. Reseat the tray if not.
- Check cap squareness. Feeler gauge at the skirt, no more than 0.1 mm gap. Re-crimp or re-torque if not.
- Inspect ten used septa under a loupe. Centered or off-center? Round or torn? That tells you X/Y, Z, or cap seating.
- Pin gauge the gripper jaws. Compare to the manufacturer’s spec. A bent jaw is a $40 part and a two-year problem.
- Verify needle depth. 1 to 2 mm past the septum, no more.
- Only then swap the septum lot. And if the new lot fixes it, ask why the old lot was different, because a lot-to-lot shift that large usually means a dimension moved, not a material.
If you want an independent read on the septum itself, send a sample to a lab that can measure puncture force and reseal, not just dimensions. That is what analytical testing is for, and it is cheaper than a service call. The Restek technical library also has good reference data on needle-to-septum compatibility if you want to sanity-check your gauge choice. For regulated methods, the EPA SW-846 documentation is worth a look because it spells out the sample handling assumptions that a misaligned autosampler quietly violates.
What to fix first, and what to stop blaming
The decision rule is this: if your autosampler failures cluster in physical space, or if your used septa show off-center punctures, the problem is alignment and no septum on the market will fix it. If the failures are spread evenly across the tray and the used septa show centered round holes, then and only then is the septum the suspect, and you go to the lot data. Buy the dial indicator and the pin gauge before you buy another case of septa. Both cost less than one wasted 96-well run, and they will tell you which part of the chain is actually moving.
References & further reading
Related resources from our lab consumables network:
- Hplc Septa at hplcsepta.com
- Vial Closures at vialsclosures.com
- Analytical Testing at testinganalytical.com
- Hplc Vial at vialforhplc.com
External references and standards: